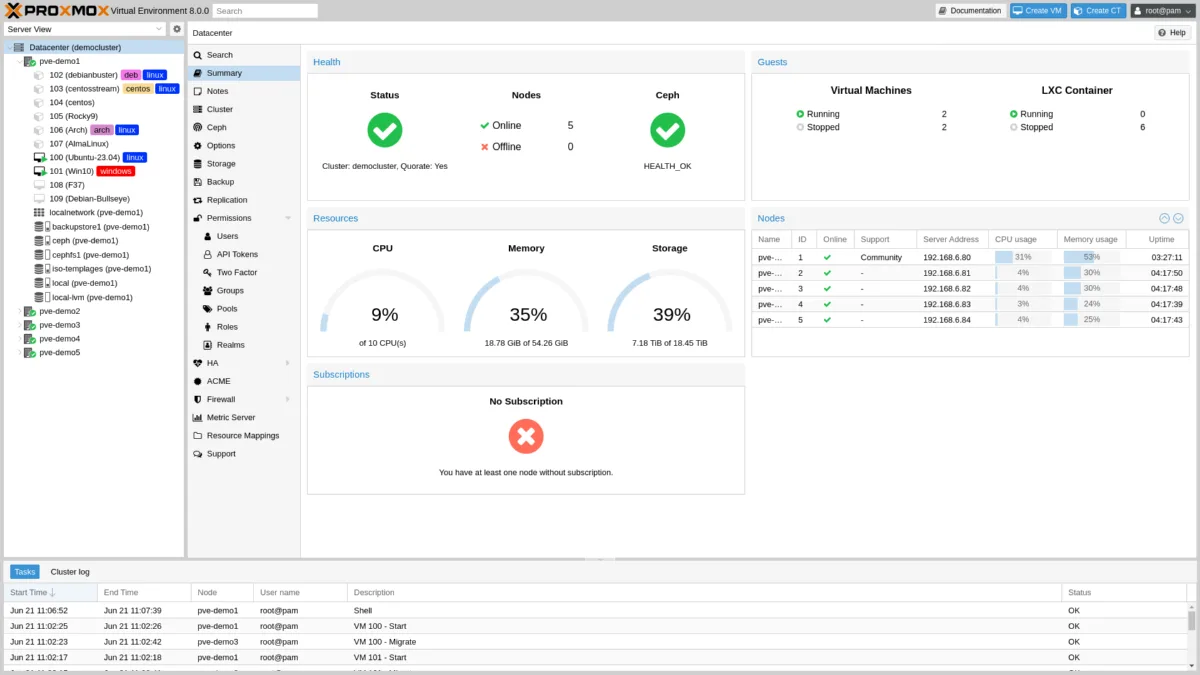
This is the install process I actually use when I’m setting up Proxmox on a new box, not the sanitized version. It’s a genuinely easy install, so I’m not going to pad it out, but there are a couple of spots that trip people up the first time.
Grab the ISO from the official Proxmox downloads page first: https://www.proxmox.com/en/downloads. It’s a big-ish file, so don’t do this on a rushed connection.
For flashing it to USB, I use Rufus on Windows and Etcher when I’m on something else. Either works fine, just don’t try to “extract” the ISO onto the drive like a normal file copy, it needs to be written as a bootable image or the installer won’t come up.
Plug the USB in, boot the machine, and make sure USB is actually ahead of your normal boot drive in the BIOS or UEFI settings. This is the step people skip and then wonder why their old OS just boots normally. If you’re doing this inside a VM instead of on bare metal, set the boot order in the VM settings the same way.
Once it boots into the Proxmox installer, pick your language and keyboard layout, then choose “Install Proxmox VE.” The installer will ask about disk partitioning, network settings, and your root password along the way. I’d recommend actually thinking about your network settings here rather than clicking through, since changing the management IP after the fact is more annoying than getting it right once.
After it reboots, that’s when the real setup starts. Proxmox will ask you to sort out storage, local disk, NAS, iSCSI, NFS, Ceph, whatever you’ve actually got attached. I keep it simple on most of my nodes and just use local storage unless I’ve got a specific reason not to.
From there you’re into the web UI, and this is where Proxmox stops feeling like an installer and starts feeling like the platform you’ll actually live in, creating VMs, cloning them, setting up backups, all of it. If you’ve made it this far, the hard part’s already behind you.